 These are my grandparents, Grandma Darlin’ & Grandpa Sugar. They used to call us darlin’ and sugar when we were little – so to us, those were their names, too. This has stuck with us into adulthood, and still stands today! They are two of my favorite people on the planet.
They sold their house, basically our family headquarters, last summer in an effort to downsize. An understandable decision, but we were all sad to no longer have this space as a gathering place. I spent every Christmas Eve at this house since I was born…so it’s been a little bit of a change, as silly as that may sound. Even though we miss this place, I’m really happy that they were able to sell and find a new adorable place to call home. Jeremy and I often talk about winning the lottery and buying it back someday 🙂
 So many great memories in this place.
Last July when we made our final visit to help clean and take things off their hands that they no longer needed, my Grandpa took Jeremy and I up to his GIANT pole barn at the back of the property, to have a quick look through to see if there was anything we could take. We spent a good 25 minutes out there with him, looking at everything they’d collected over the years, but didn’t see much we could use. On our way out to head back down to the house, a pair of paddles caught Jeremy’s eye. They were dingy, beat up, and partially broken, but PERFECT in their own way – so we asked if we could take them. Grandpa laughed at us a little and said “I don’t know what you’d want those old things for, but alright!”
This is what we started with. I love the look of aged oars, but these needed a little help.
 I used an orbital sander, and did a light sanding with a 120 grit pad on both sides. I went really easy on the handles and sides because the wood was a little softer and I didn’t want to reshape it.

Night and day difference after sanding, right? I finished it off with a quick sanding with a 220 grit pad to get a nice smooth finish. To get the weathered but clean look, I decided against actually staining the wood, and instead just put on 2 coats of sanding sealer. There are compounds in this sealer called stearates that make the finish thick and soft. If you plan on putting a harder finishing coat of lacquer over top like I did, you only want to stick with 1-2 coats of the sanding sealer. Putting any more on increases the chances that your lacquer finish will chip or crack later on.
 I really like how the sanding sealer darkened the wood just a bit, but still let all of the weathered grain show through.

After letting these coats dry for 2-3 hours, I rolled on 3 coats of Spar Urethane in a semi-gloss finish.

 Finished 🙂
Now the tricky part: trying to figure out how to hang these paddles on the wall in an “X” shape. There aren’t very many tutorials out there on how to do this, so we had to wing it.
The taupe wall color had to go, so first I cleaned the walls and gave them two coats of Benjamin Moore Swiss Coffee. It’s a warm white that really cozied up the space and makes the oars pop.
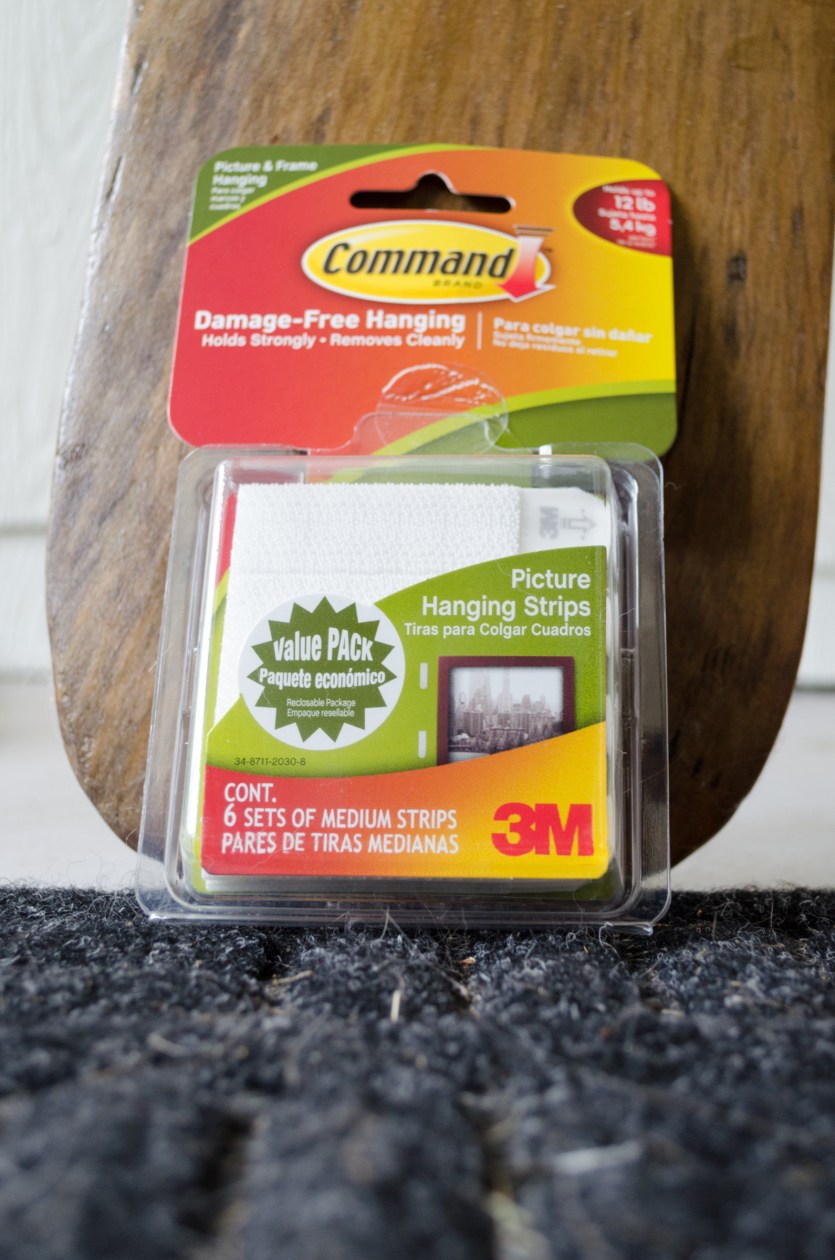
 I wasn’t crazy about the idea of screwing the oars into the wall and creating a million holes, in case we wanted to move them in the future – I was also worried about damaging the oars themselves, so I decided to hang these using medium Command velcro strips. Each strip holds up to 12 lbs, so using 2-3 per paddle, these were more than strong enough to do the job.

To hang the first oar, I marked both on the wall and the oar where the command strips needed to go, and attached them. To hang the second oar on top, I had to cut a stabilizing block of wood to place behind the lower part of the paddle to hold it in place, away from the wall. I then attached the command strips, and put the oar in place. Following the directions, you need to then remove the oars from the wall and press the strips on the wall firmly for 30 seconds, and then let the bond set up for an hour before hanging the oars again.


Done!

Thanks to my grandparents for letting us have these, I love having a little piece of your home hanging on my wall.


